Installation
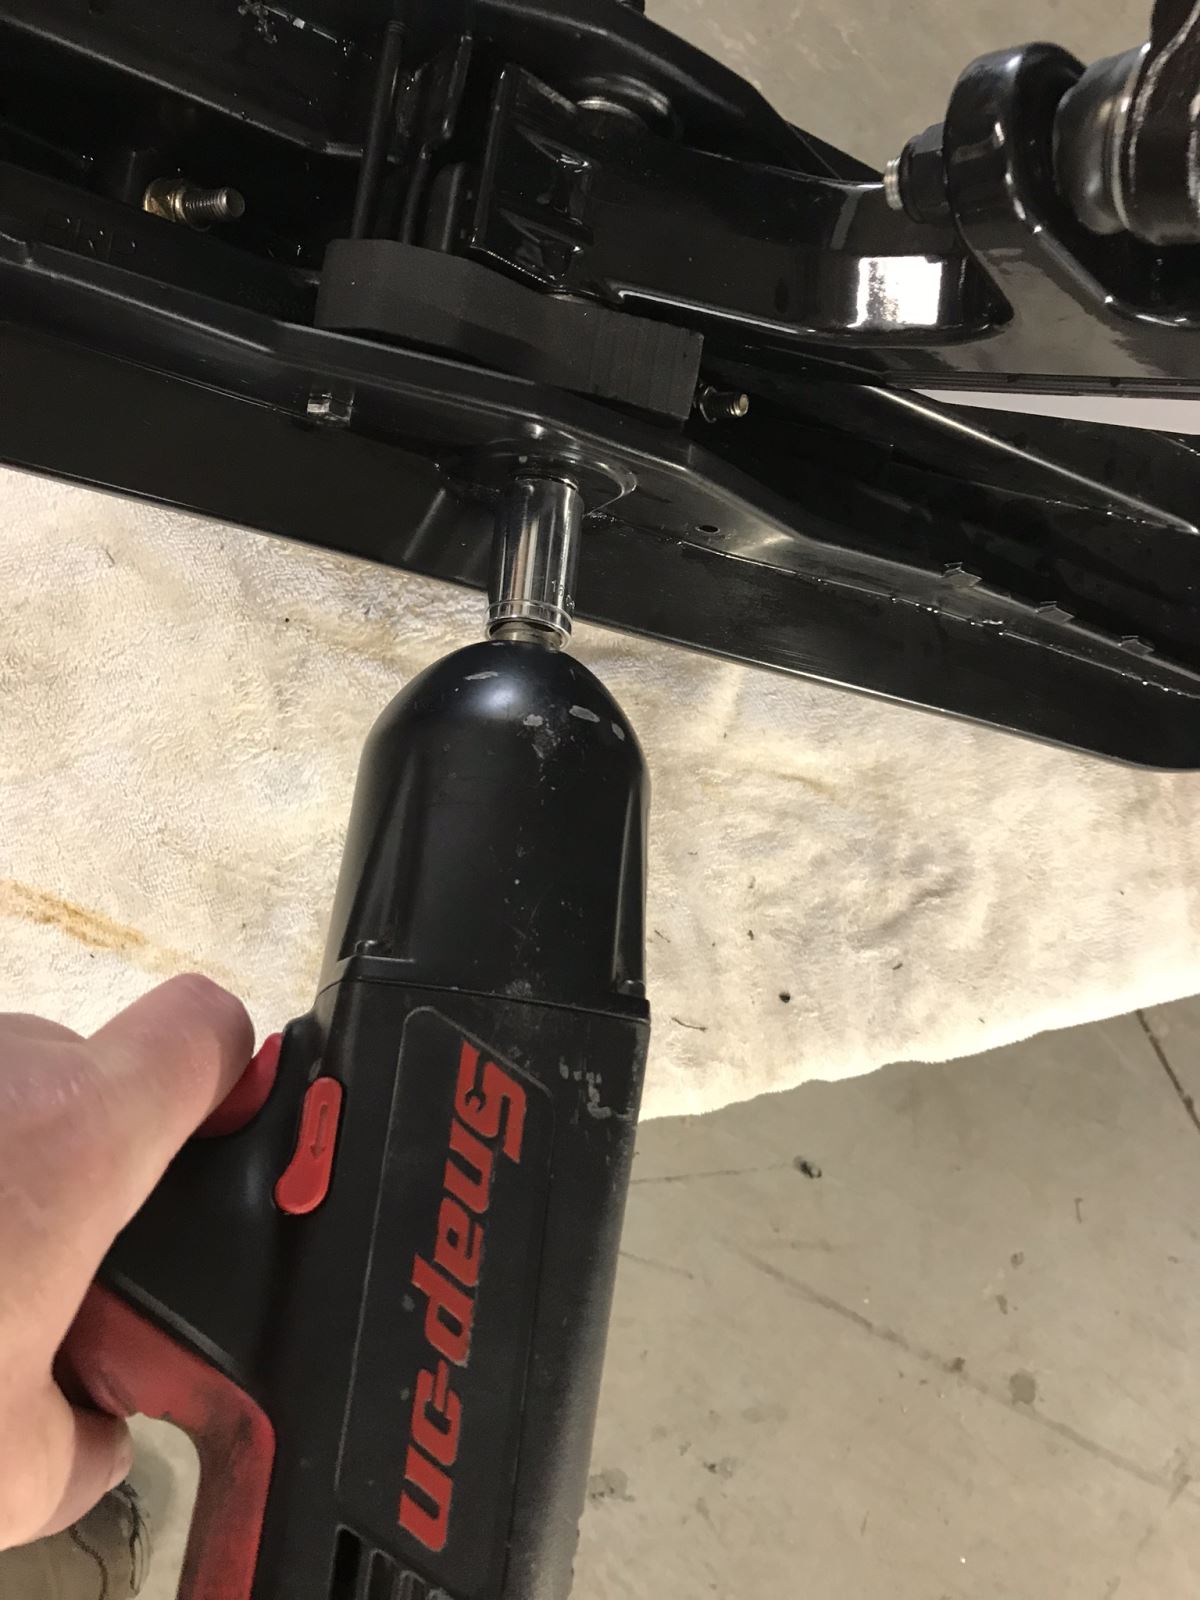
1) Remove the ski bolt. This allows you to take off the ski and also remove the spacer (or bushing). You can discard both the nut and the spacer since the kit will include both of these items.
2) Position the drilling template by putting the ski bolt through the big hole in the template with the small hole facing the front of the ski. Then put the ski bolt back in the ski so the template is positioned for the drill.
3) With a 6mm drill bit, drill the hole on one side of the ski, then flip the template over to the opposite side and drill the other side of the ski.
4) Insert the bolt included in the kit in the hole and slide on the adjuster clip before pushing the bolt out the other side of the ski. Attach the nut for the bolt. (Don’t tighten it yet or it will make re-installing the ski more difficult.
5) Re-install the ski.
6) Repeat process with other ski.